Hello again, going to return to the Figma portion of the blog now as I finally took pictures of the stage. I’ve obtained this di:stage on September 23 and finally got around to add my own comments onto this Figma brand product. Was it worth the purchase or is it something you might want to pass up on?
(Link – MySite)
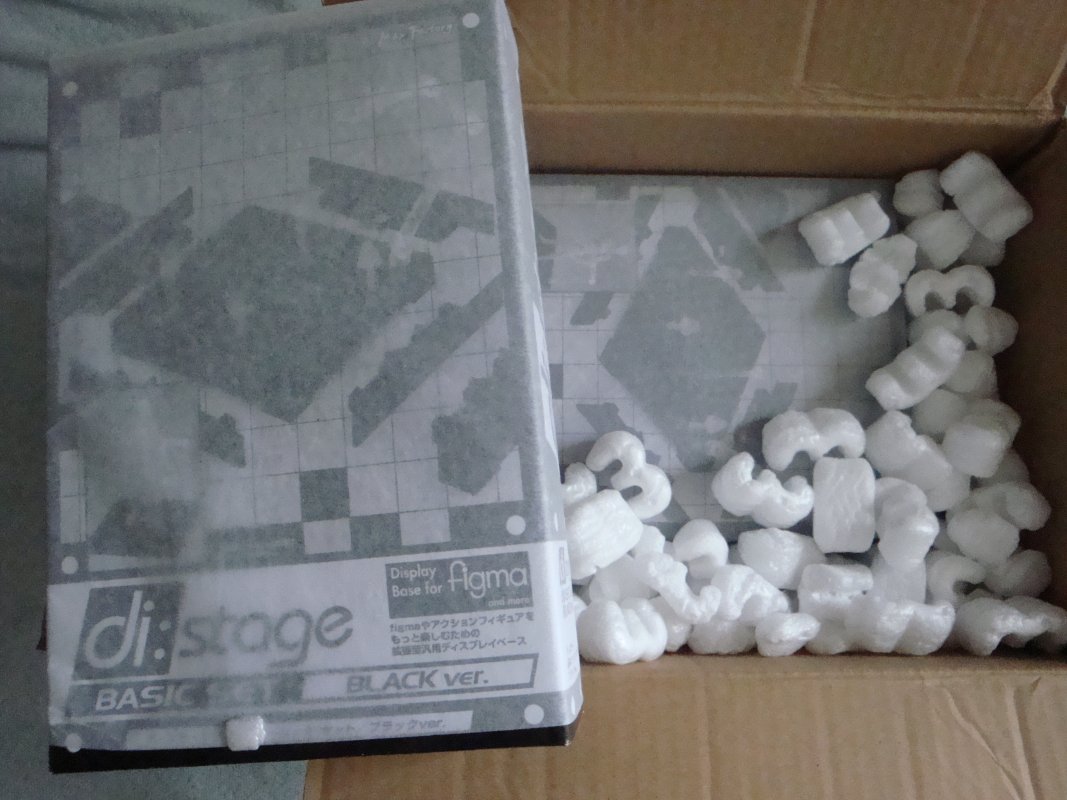
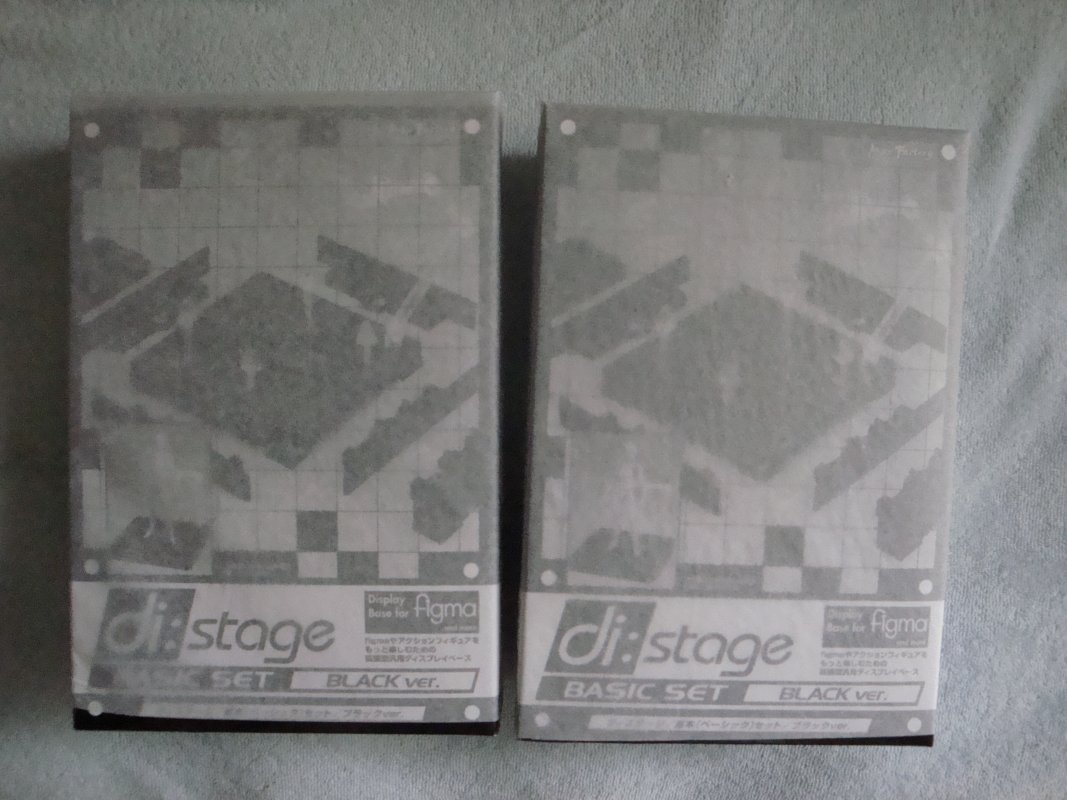
Yes, I did get two Di:Stages as one didn’t seem to be enough, and I was right. I obtained my two di:Stage’s from Playasia and was surprised that it wasn’t yet sold out like every other Figma related product they manage to get. I must say that Playasia wrapped up the boxes nicely, +1 for them :).
(Link – MySite)
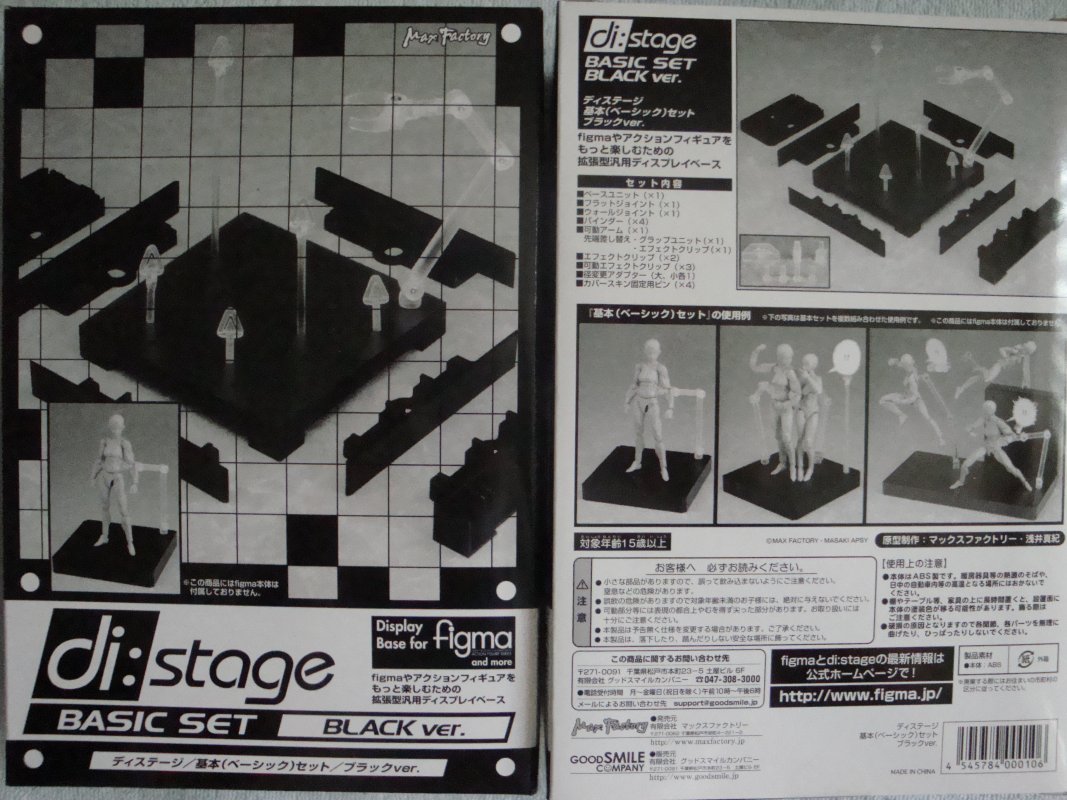
Then a quick view at the front and the back of the box. Make sure to compare my images to that on the box to see how true it is to the actual product.
(Link – MySite)
So, how was the product packaged in the box? As so:

(Link – MySite)
Ha, nice. Even though it contains tons of plastic it is safely packages. Will the kid in you pop the bubble wrap?

(Link – MySite)
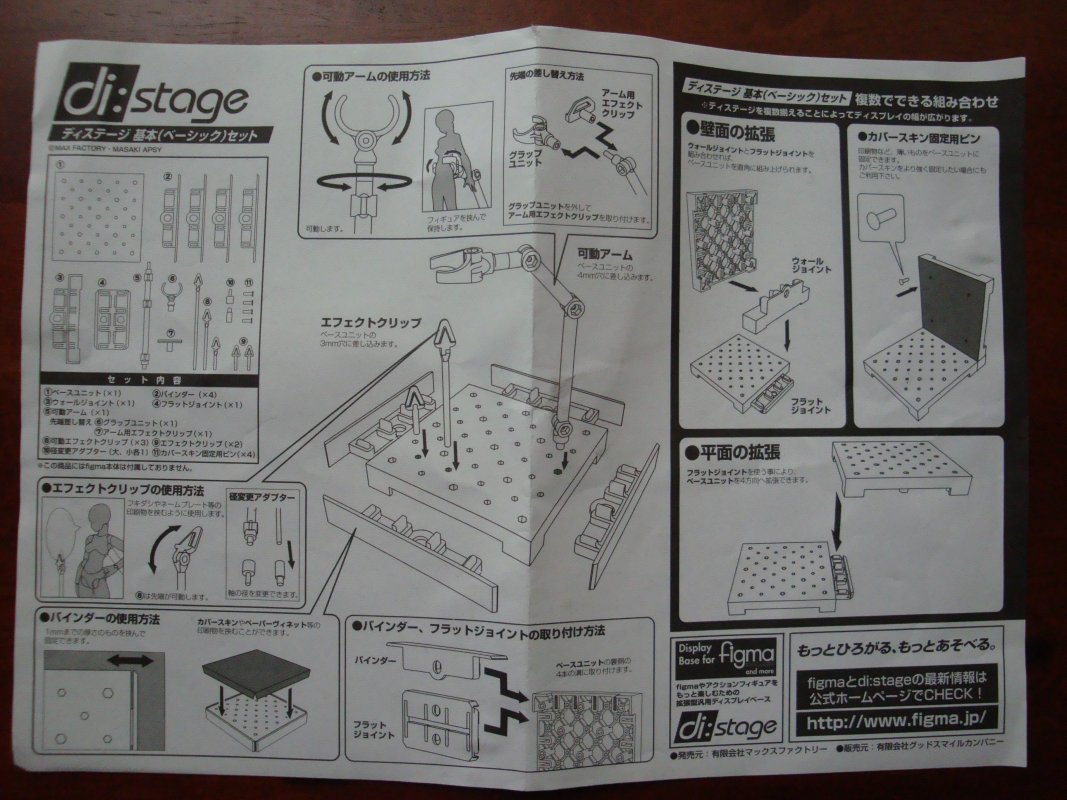
Mostly Japanese instructions on how to……..interact…..with the stage.
(Link – MySite)
Like it says on the paper (above) this is what you get. A square stage, 4 “skirts”, 1 “skirt” plug to attach other di:stage squares, a white rectangle connector, 1 long arm to hold Figmas, three different lengthy sign holders, 2 sign holder pins, 2 mini sign holders, 4 mini pins, and tons of plastic to throw in the garbage (or recycle bin). I can’t read Japanese so I’m making things up as I go, but should be close enough :p.
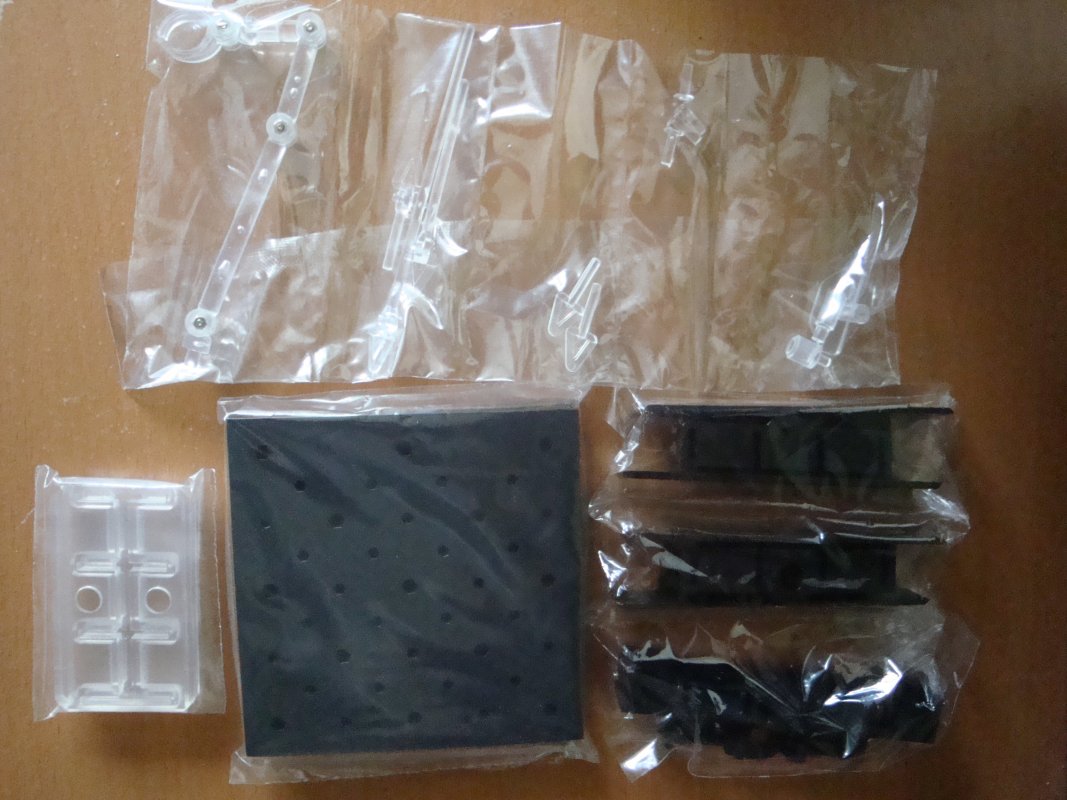
(Link – MySite)
From the box itself there is a hidden sleeve that you can cut out to place on your di:stage. On either end there are two flaps containing two freebie signs, best to look on the flaps when acquiring Figma’s as they may contain hidden messages or freebies.
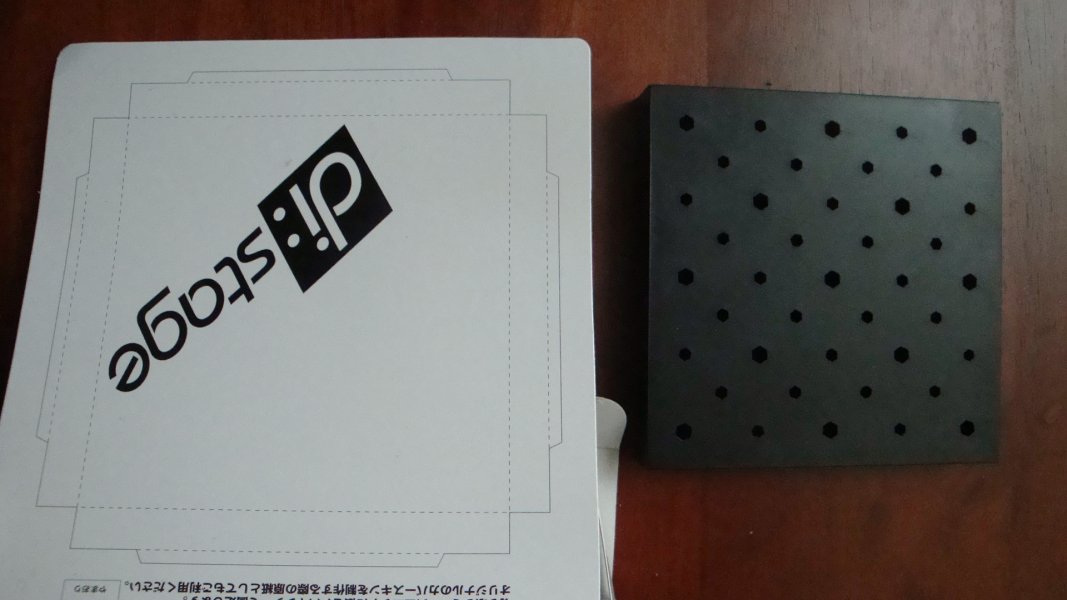
(Link – MySite)
….and with that extra long piece cut out, it looks as so:
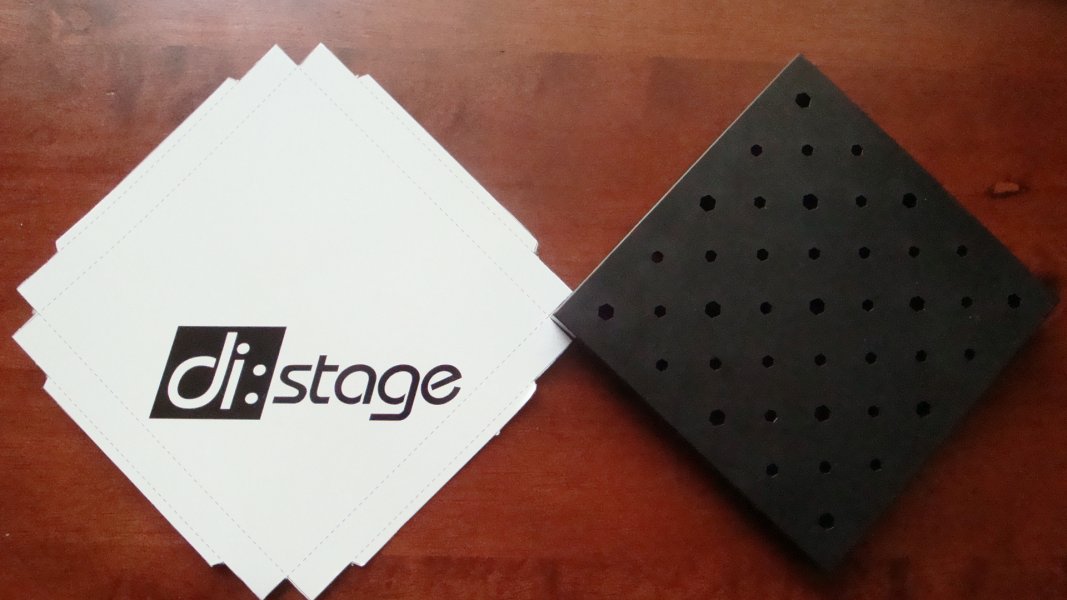
(Link – MySite)
To place this….uh, cover onto the stage you might want to add the 4 skirts onto the square. It pops out slightly to help place that stage cover onto the stage itself.
As a kid I doubt I saw these type of things on Power Ranger figures or North American Gundam Wing figures.
“Hey, want to be creative? If so we shall help assist you by giving some starter material for you to work off of.” – Good Smile Company + Max Factory.
They even allow you to download and print out festive (Halloween + Christmas) paper print outs for your Figmas that you can use to decorate your Figma Shrine or to take images of.
Going back to the image below you can see that there is one “skirt” attached to the left, while the one to the right I’m about to be attached.
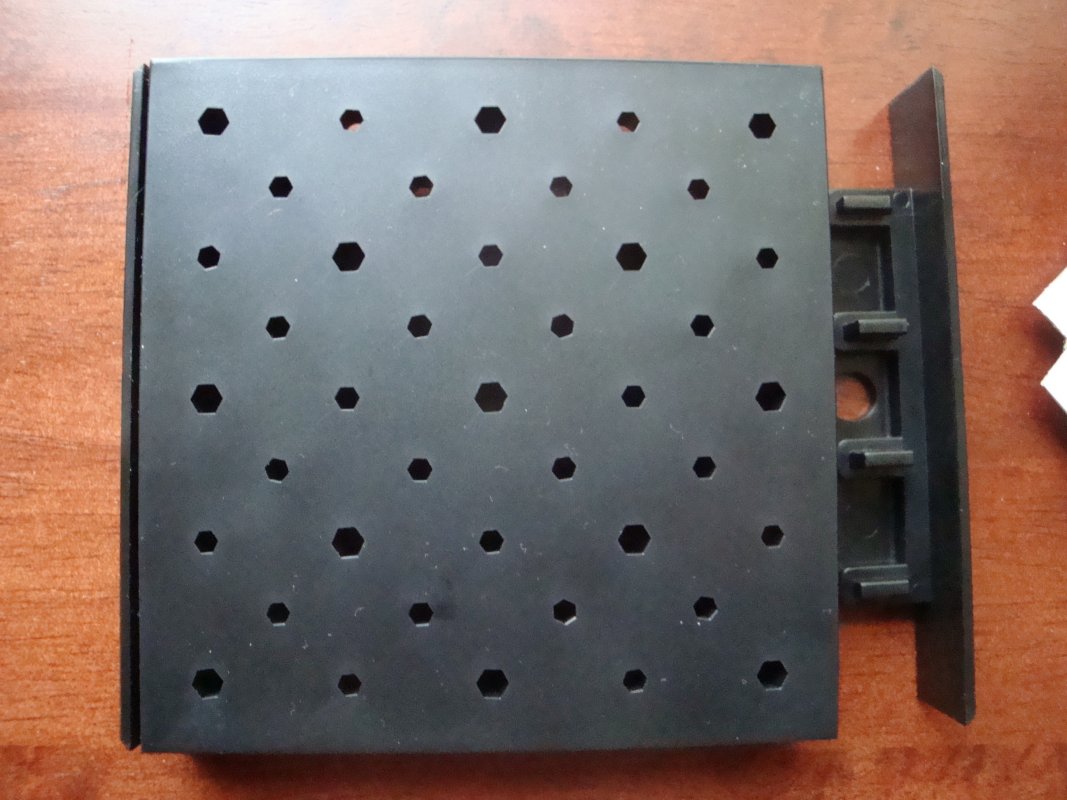
(Link – MySite)
And it would look like so, with all 4 skirts attached, allowing you to place various objects on top of the stage. Miku concert? Either that or you could probably use it as a wall (mini back drop) of some sort.
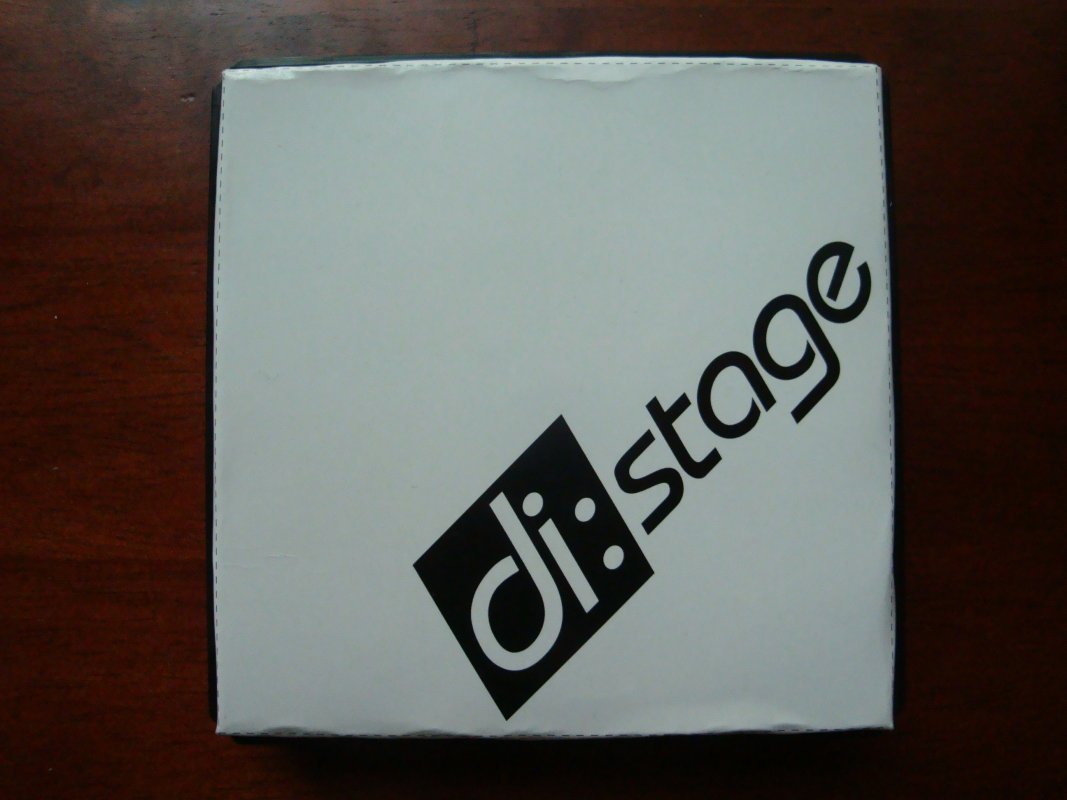
(Link – MySite)
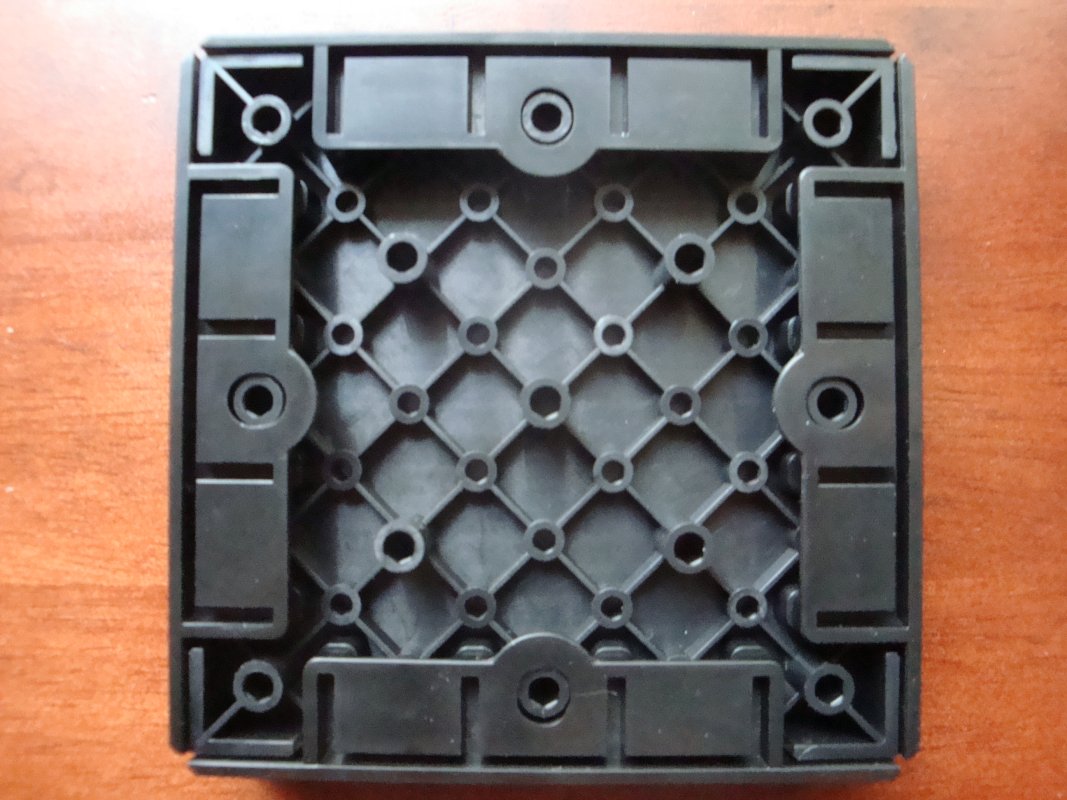
(Link – MySite)
*Adds Rin and the four flaps into the image*
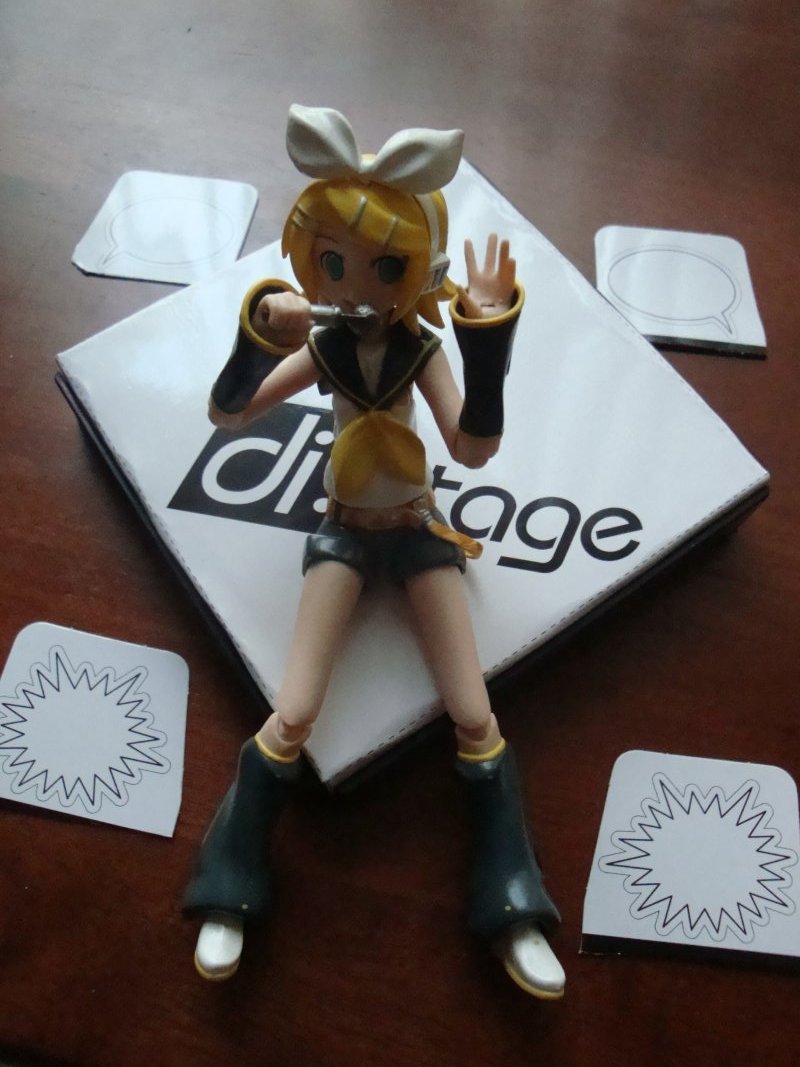
(Link – MySite)
Now that I’ve shown you the first stage, what does the accessories look like outside of the bag? Like so:
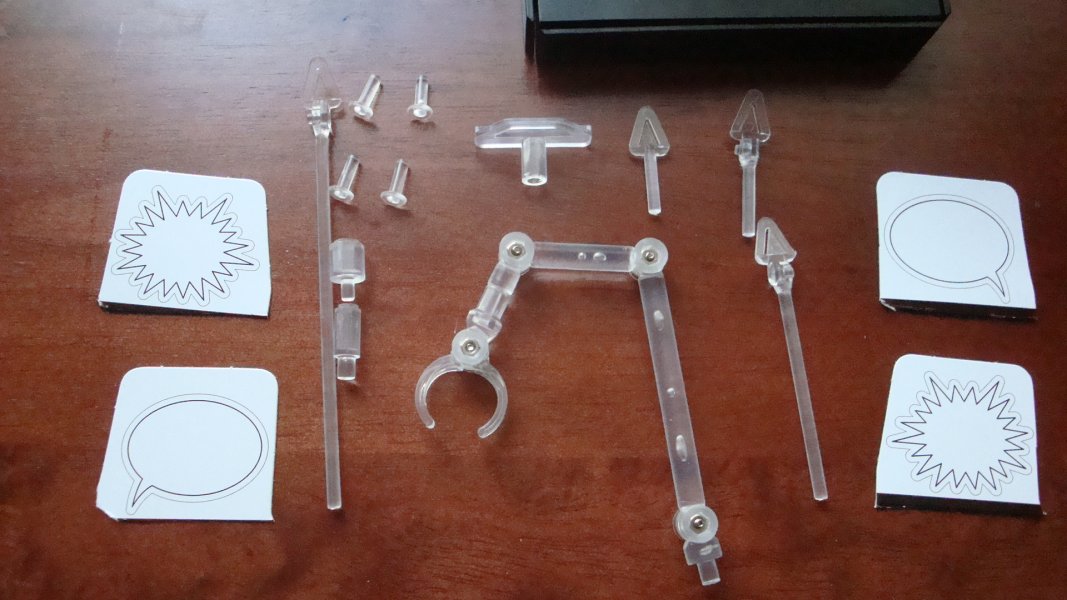
(Link – MySite)
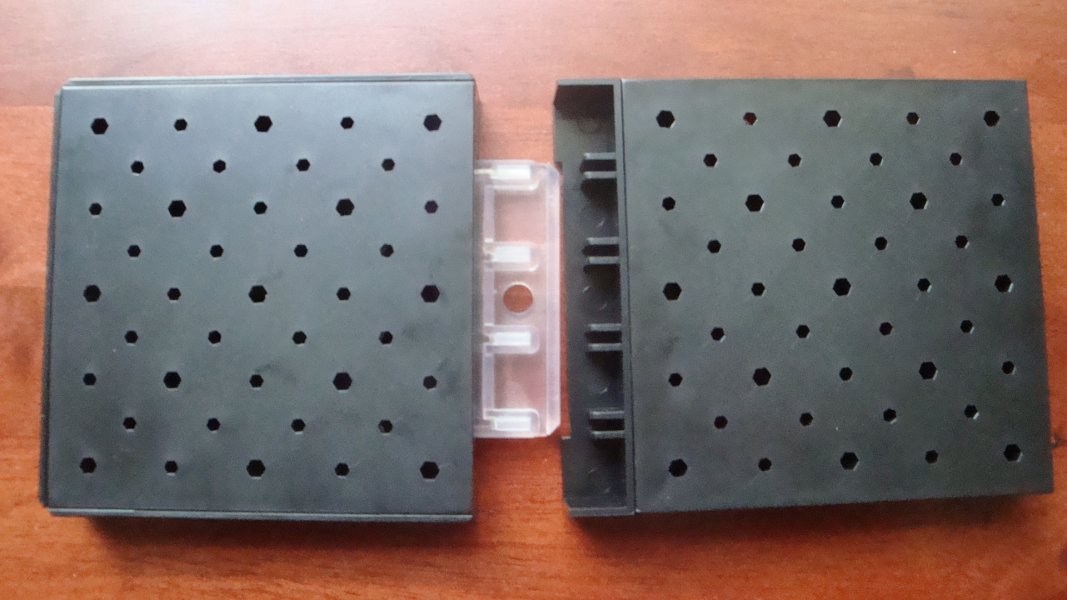
I did say I had two stages. Now this is how they would look when pieced together. One with the flattened “skirts” (left/Rin) and one without them (right).
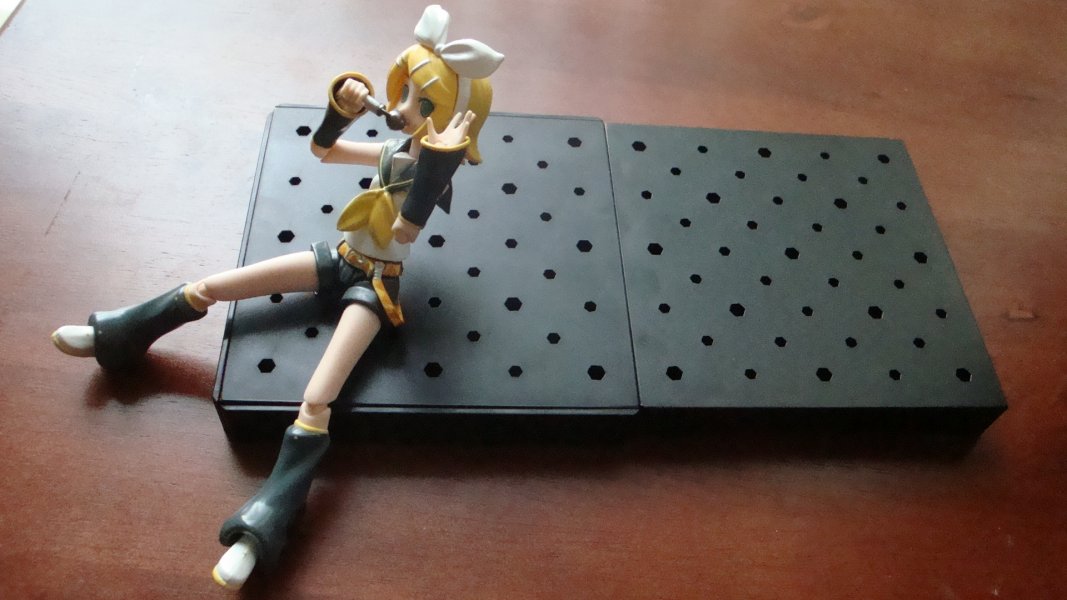
(Link – MySite)
To do that you just use the white rectangle connector – As shown below:
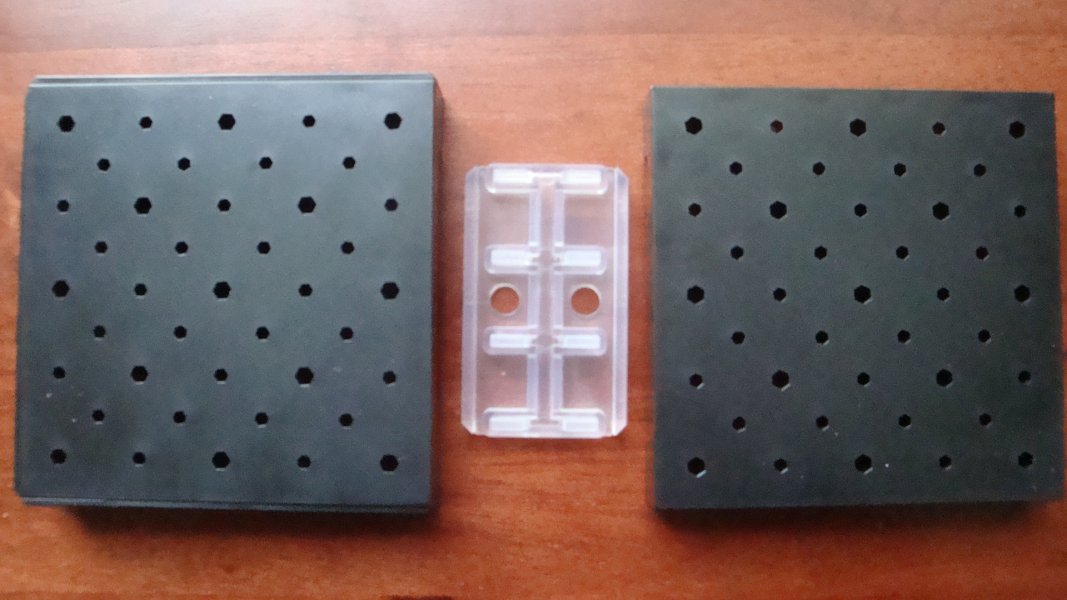
(Link – MySite)
You snap it onto the bottom edge, and then onto the other.
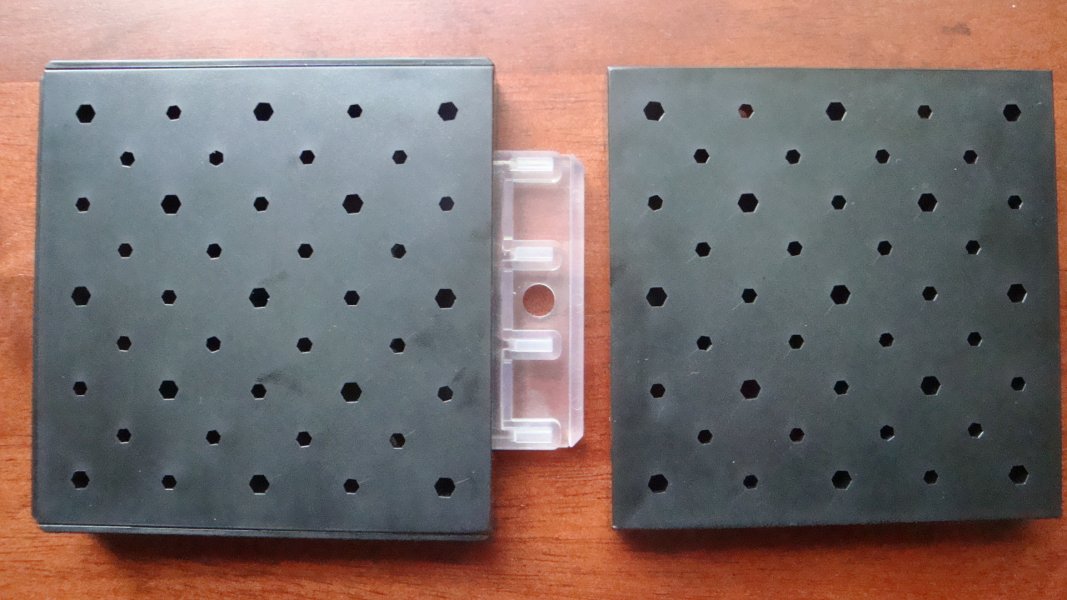
(Link – MySite)
What if you want to attach it onto a 90* angle? Use the same white piece but attach a skirt piece that looks like this (the black one on the right square).
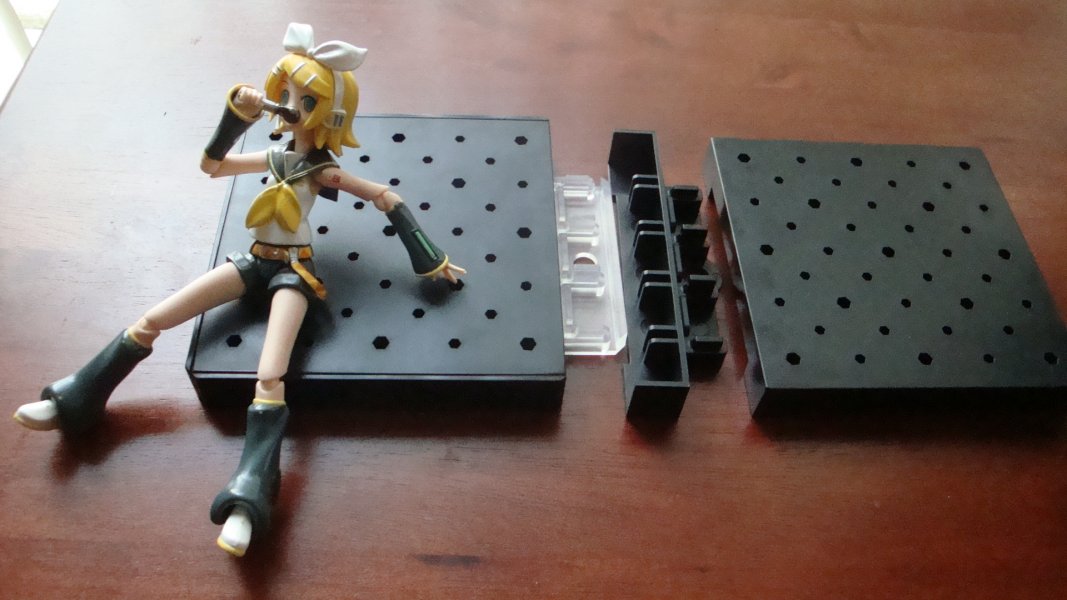
(Link – MySite)
(Link – MySite)
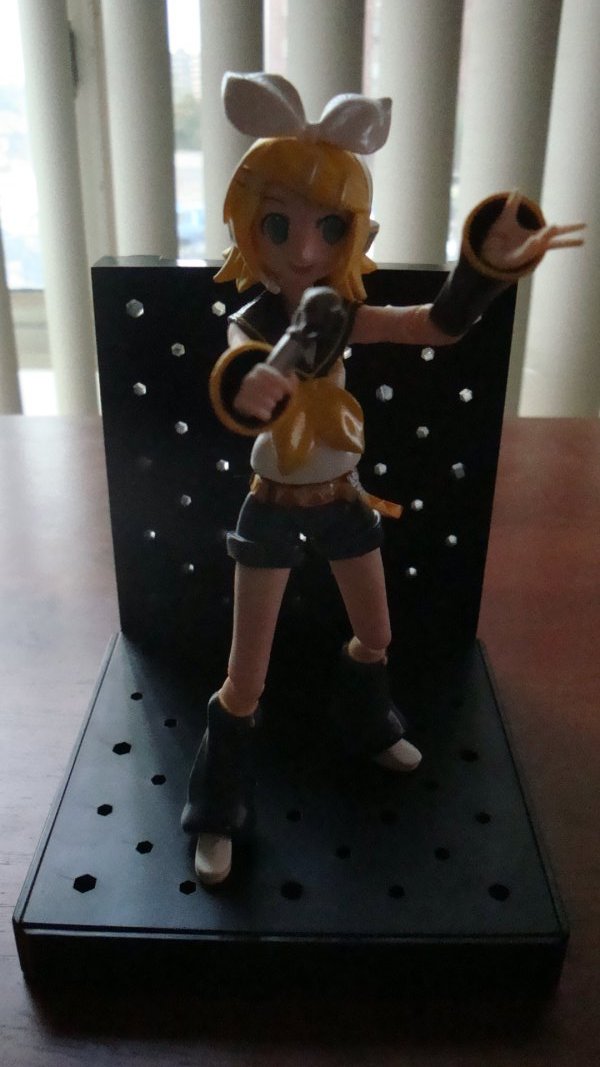
Attaching those together will allow you to lean your figures on that up right unit, or allow any figmas to stand freely without falling backwards on uneven terrain.
(Link – MySite)
(Link – MySite)
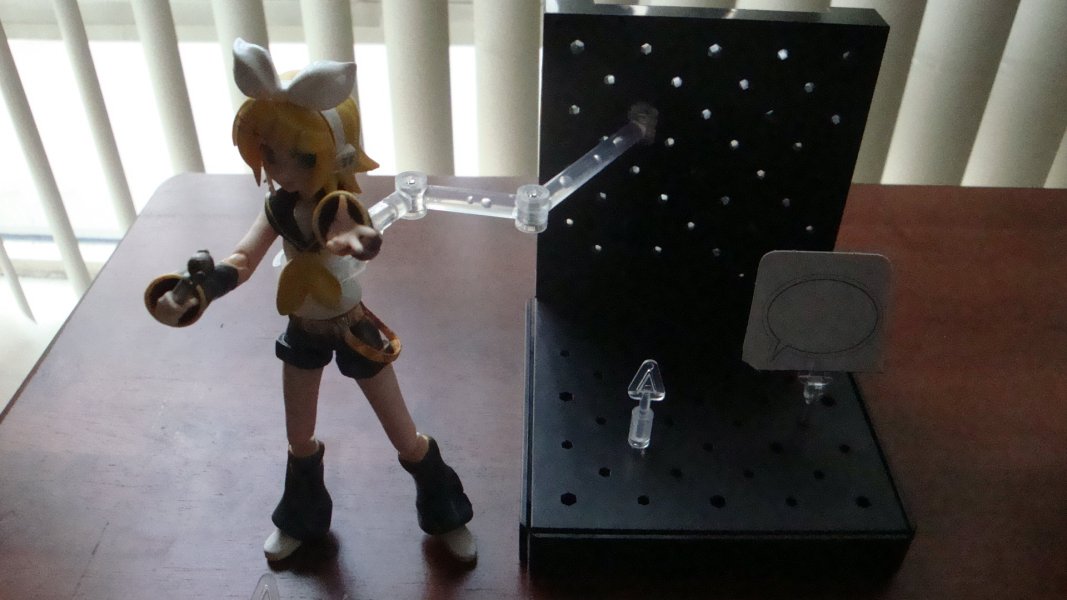
This should come in handy with wobbly or unstable terrain, or extremely useful for anybody with an extremely creative mind (i.e Full scale Figma mansion). I personally feel that the di:stage plates are a tad bit tiny, from what has been shown in various Good Smile Company images, where a single Figma assists with further shrinking the stage’s size down to a mini tile. Regardless of their size impressions they do what they are meant to do and allow you to pose figures on the stage itself, or to suspend figures in mid air to replicate combat scenes. I have yet to actually make proper use of this stage and shall input my thoughts on this product in future Figma Photo shoots. For those that do not have this Stage I do recommend getting at least two as it would enhance the intended capabilities of the unit(s).
—
Pros?
– Allows you to pose figures with ease, and in any fashion you want.
– Connecting one Di Stage to another allows for further options to pose and create.
– You can continue obtaining di:stages to further enhance the capabilities of the stage (Turning it into buildings, or similar).
– You can put floor/wall Figma decorations onto the stage to beautify the dullness of a black stage.
– Word panels (Box flaps) assist with the user’s creativity.
– Further future accessories allow the stage to turn into a portable showcase.
– Can support the weight of other Figmas it supports.
– You can carry the di:stage in a travel page, cargo pants, or even in a lunch box to use to pose figures.
Cons?
– The optical illusion with size – Smaller in person then shown on site.
(Can be ignored as its more of a personal issue.)
– Too many accessories and no mini-plastic bags to place accessories into.
(Note that the Figma figures come with bags while I had to use the bubble wrapping to store the parts.)
—
(Image update/edit – Just a quick sneak peak into the “outdoor di:stage review”)
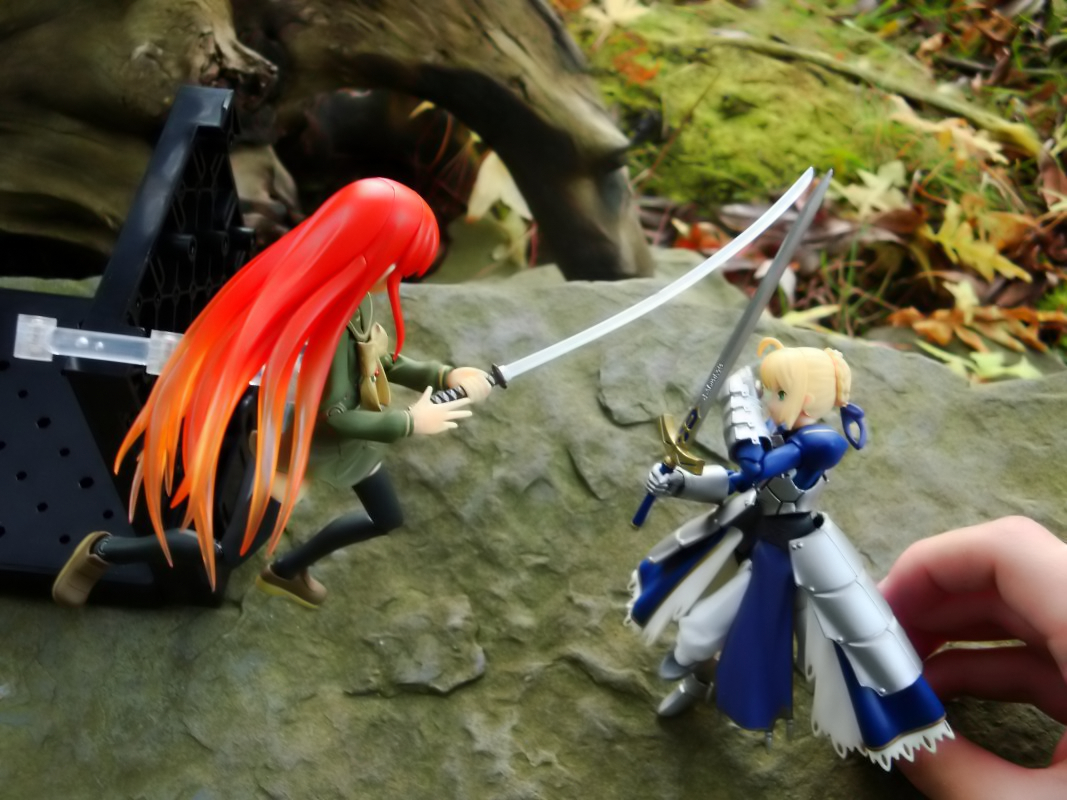
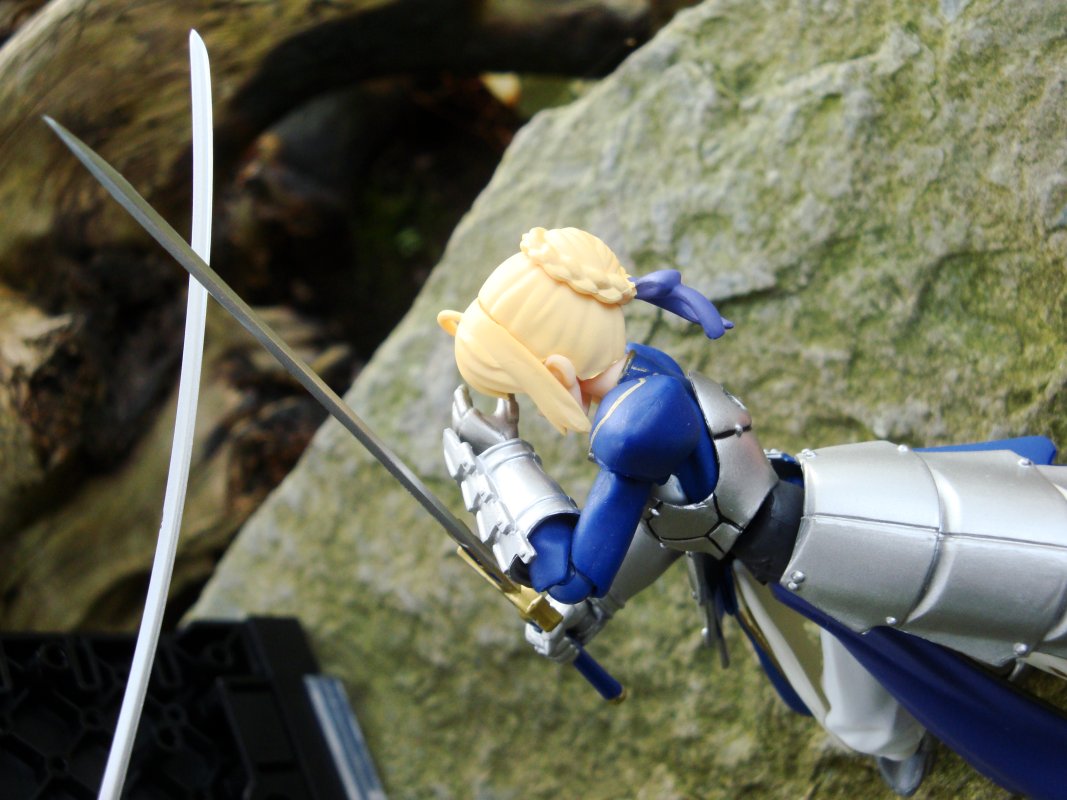
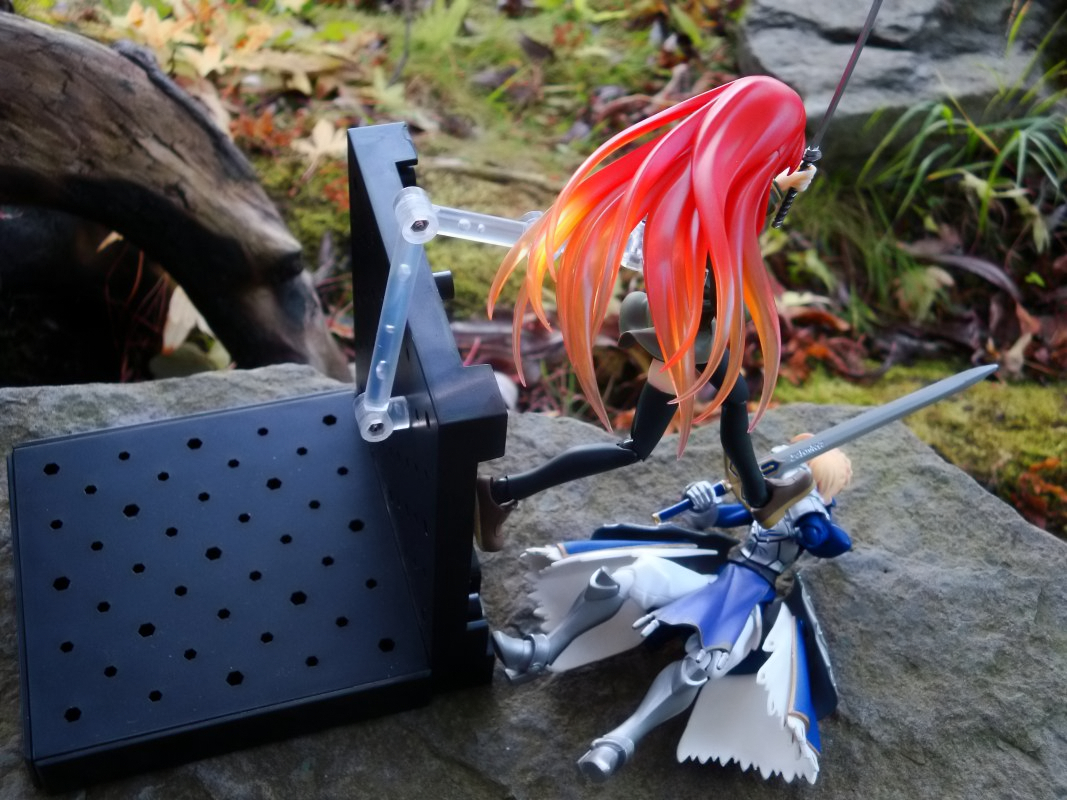
I’m hoping this quick review/first impressions helped you in some way in deciding whether to obtain this or to let it go (hopefully to obtain). With this I shall gladly do a second article featuring only the Di:stage and Figma Saber/Lily in a future article, an outdoor Figma photo shoot article. If anybody has a di:stage and reviewed it then feel free to notify me as I shall link back to you. Also I shall be using this stage frequently, keep checking back on this post and any similar posts. I’ll add a di:stage tag that you can use to track any articles containing the di:stage.
– Thanks for reading and see you within the Figma Saber article (I obtained it late as it was hard to find).
